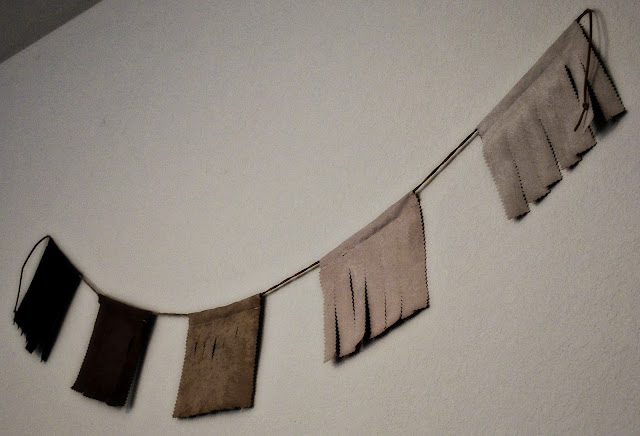
Fly that Flag
Okay, okay. I know the "flag" thing has been done. Way, way over done. However, I was just feeling like I needed to add a little pop to my living space and the flags are cute, right? I had these faux suede fabric swatches and decided to put them to use. I decided to share my process with you!
Supplies
Fabric
Cord
Sewing Machine
or
Needle and thread
1. Cut fabric swatches to size. I used pinking shears to avoid any frayed edges (I know, your probably thinking 'But, Ruth, that looks like suede.') And you'd be right. I just really like the way it looks!
2. Fold over top edge to desired size and pin in place. Make sure you leave enough room to string the flags!
3. Straight stitch (or hand sew) in place. Do the same for all of your 'flags'.
4. String all flags onto string. I used a suede string to keep the theme, but you can really use just about anything from hemp/jute to a strip of fabric. Also, I used that nifty sewing tool to string the flags, but you can use a safety pin, or if your openings are big enough, the string should slide through easily.
5. Evenly space flags and pin in place.
6. Sew flags in place to avoid any slippage.
I cut fringe into my flags because I am currently obsessed with fringe, but, you can do all sorts of things to embellish your flags. Add ruffles, embroidery, your last name, paint, the possibilities are endless!
Tip: Hang the flags with dressmakers pins to avoid any obnoxious holes in the wall!
<3 Ruth <3
Labels: DIY, Home Decor


0 Comments:
Post a Comment
Subscribe to Post Comments [Atom]
<< Home