Friday, April 4, 2014

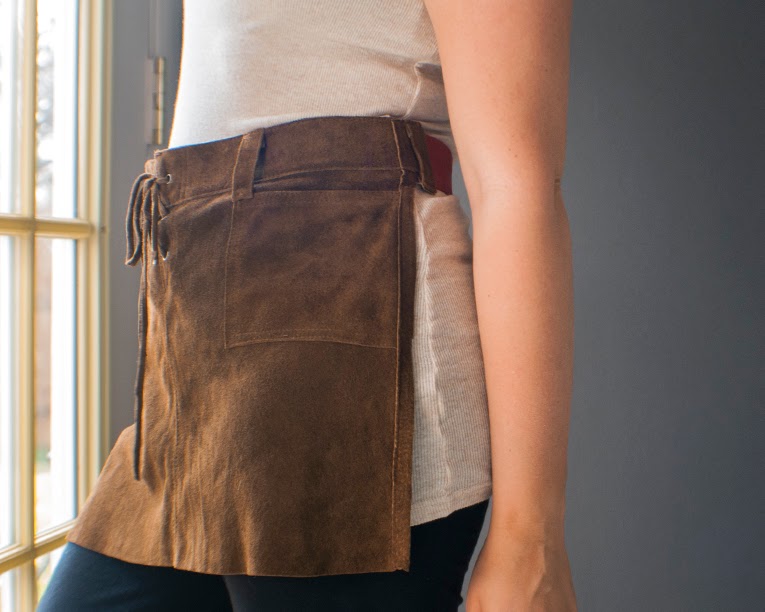
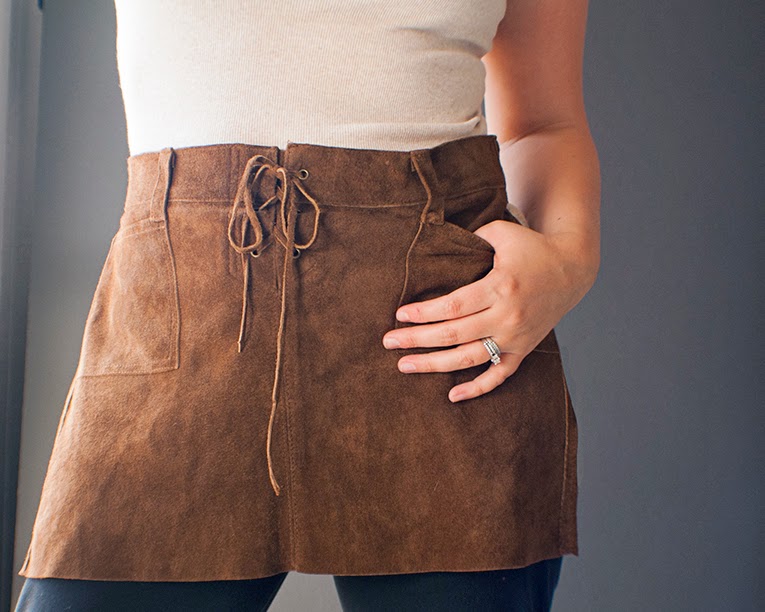
Upcyled Leather Apron

DIY Upycled Leather Apron || www.isntthatsew.com
Okay...here's the back story. When I am working in my studio, making jewelry for ITS Handmade I often sit on my stool and use my bench pin to file, sand, and polish metals. Therefore, all types of copper and steel wool are constantly falling into my lap, on the floor, and on the stool. It can be a real pain to keep clean. So, I needed a solution. This is what I came up with. Oh, hey...I even made you a video and if you sign up for my mailing list, you can download a free printable e-book! The e-book has a few more photos and more detailed explanation. Don't forget to click the link to read the entire post! 


To download free ebook sign up for ITS mailing list | http://eepurl.com/RXhY9
Like this tutorial? To receive this tutorial as a printable ebook, please subscribe to our mailing list! We will never spam you, only send you awesome downloads and tutorials! 


DIY Upycled Leather Apron || www.isntthatsew.com
What you'll need
 Leather Skirt
Belt
Ruler
Marking Pencil
Fabric Scissors
Sewing machine (or needle and thread)

You can use any type of skirt really. For my needs, leather was the best choice. However, I think a cotton twill and/or denim would probably work really well....As far as the belt goes, really anything cloth will do as long as it is the proper size to fit your belt loops or waistband. If it's a little to small, no problem, the stitching should secure it. If it's a little to big, maybe fold it to fit. 
DIY Upycled Leather Apron || www.isntthatsew.com
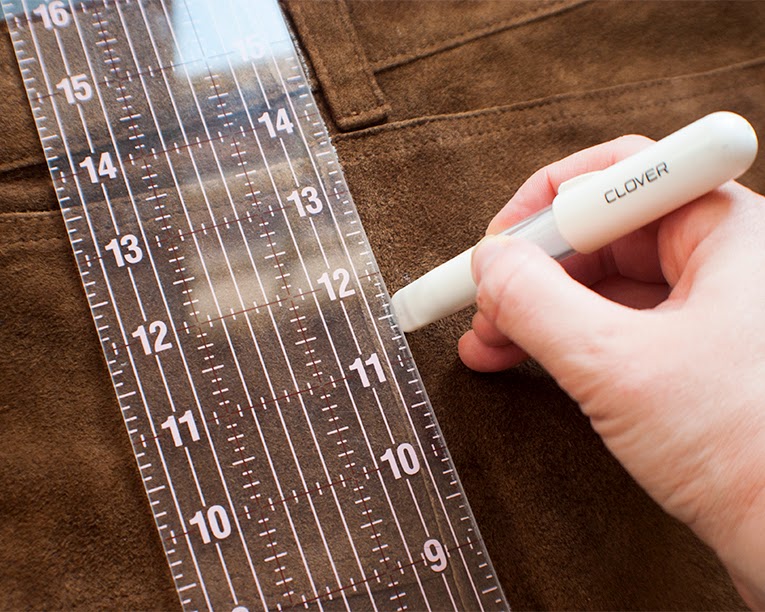
 Line up the side seams and trace a straight line from the waistband to the hem. 
DIY Upycled Leather Apron || www.isntthatsew.com
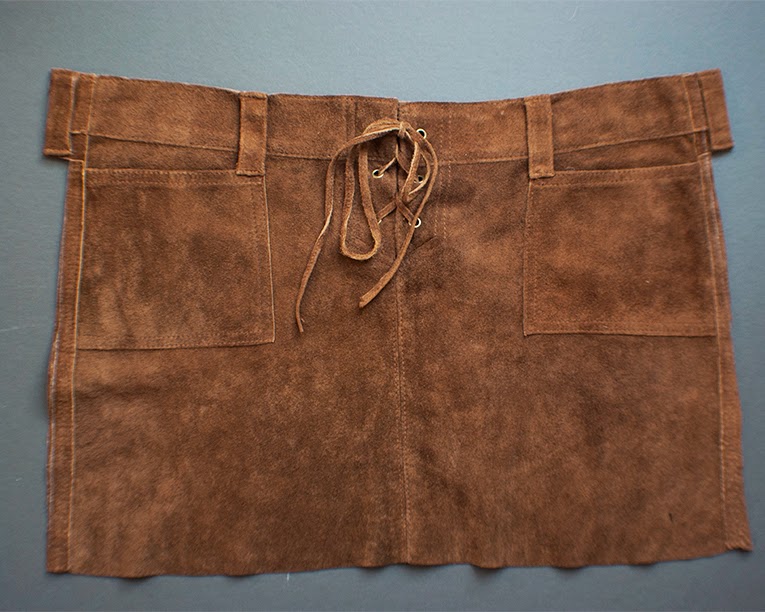
Cut along your line, stopping at the waistband. Cut to, but not through. Then, cut around the belt loop. If there is not belt loop, you can cut about a half an inch along the base of the waistband, leaving the stitching in tact.  
DIY Upycled Leather Apron || www.isntthatsew.com
Repeat steps for both sides of the skirt. 
DIY Upycled Leather Apron || www.isntthatsew.com
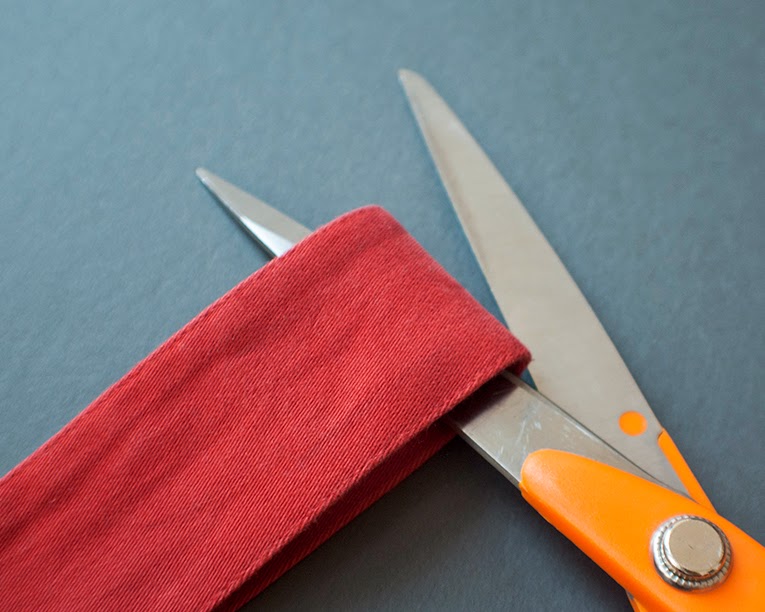
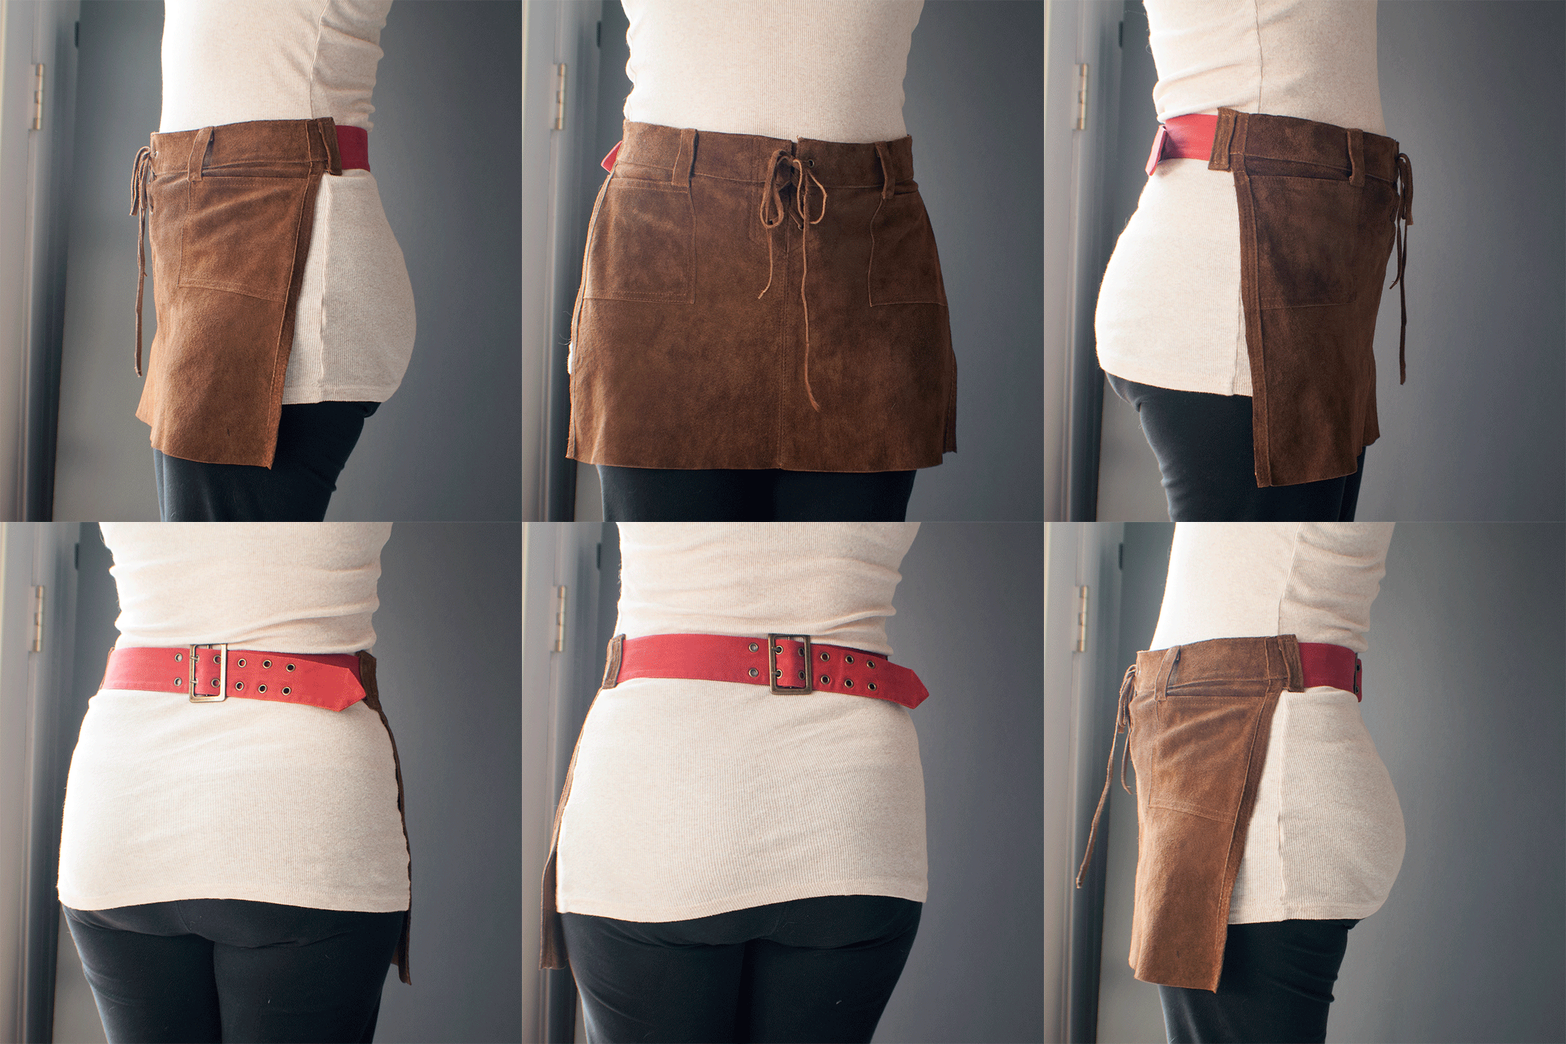
Next, cut your belt to the proper length. You cannot just cut the belt in half  if it has grommets. You'll need to fit the skirt around your hips and figure out the proper length for each side of the belt. So, I cut mine in half and wrapped the skirt around me. I stuck the belt into the belt loops (or into opened waistband) and slid them around until I found the perfect place for the belt to fit. 
DIY Upycled Leather Apron || www.isntthatsew.com

DIY Upycled Leather Apron || www.isntthatsew.com
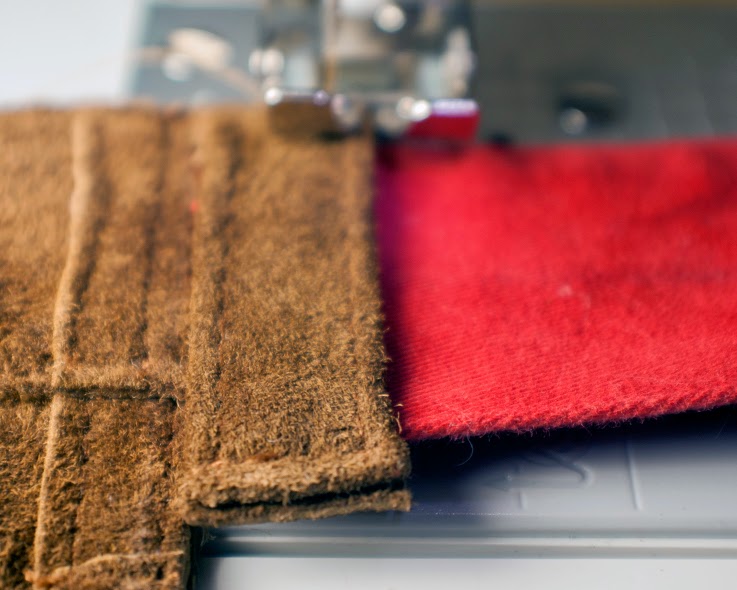
Finally, stick the belt between the belt loop and the waistband (or just into the opened waistband) and stitch closed. I just followed the top stitching on the belt loops and then sewed an X through the center. And that's it! This is a quick and super simple solution to my problem! Leave me a comment and let me know what you think....or better yet let me know if you make an upcycled apron. -Ruth
DIY Upycled Leather Apron || www.isntthatsew.com

DIY Upycled Leather Apron || www.isntthatsew.com

Labels: , , , ,

7 Comments:

At April 6, 2014 at 2:19 AM , Anonymous Ria said...

Love it! Totally understand your frustration with the mess that comes with metalworking - I'm really tempted to give this a go, time to hunt down a denim / leather skirt in the charity shops! Great DIY :)

 
At April 6, 2014 at 12:37 PM , Anonymous RuthLoiacano said...

Thanks Ria! So far, it's worked out perfectly!

 
At April 7, 2014 at 3:51 AM , Anonymous Charlotte said...

It's GORGEOUS! Very pro. :)

 
At April 11, 2014 at 9:00 AM , Anonymous Miriam Schulman said...

what a pretty calendar!

 
At April 11, 2014 at 9:25 AM , Anonymous Lucy Parsons said...

What a great free gift! I'm already on your list and really appreciate it.

 
At April 11, 2014 at 10:09 AM , Anonymous Tania Pelletier said...

I subscribed Ruth! The calendar is lovely. Thanks so much for stopping by my blog and commenting on the landscaping and mushrooms!

Tania

 
At April 11, 2014 at 10:20 AM , Anonymous Ria said...

cute calendar! i imagine this'll come in handy at my desk :) x


Post a Comment

Subscribe to Post Comments [Atom]

<< Home

<data:blog.pageTitle/>

This Page

has moved to a new address:

http://isntthatsew.org

Sorry for the inconvenience…

Redirection provided by Blogger to WordPress Migration Service